

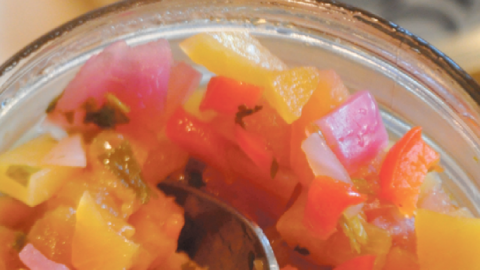
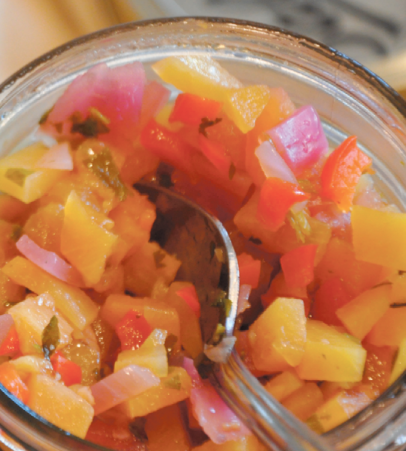
Stone Fruit Salsa
Put them up now and think outside of the chip bag—serve them alongside roasted meats or vegetables or a piece of sautéed fish and they’ll bring a blast of brightness to those dark winter days.

Canning. It wasn't long ago that the word brought up images of calico-covered kitchens and recipes as musty as the dust jackets that bound them. But as many are discovering, "putting up" doesn't have to mean flavors as antiquated as gelatin molds. The new wave of preserving books are full of dynamic, right-now tastes. And, for those of us dedicated to local agriculture, preserving the harvest is just a natural extension of seasonal eating–it lets you stop summer flavors in their tracks and support local growers even when fields are fallow.
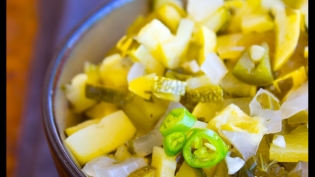
In this series, I'll bring you basic preserving techniques paired with recipes to get you started. First up, canning–also called the Boiling Water Method–and some sunny summer salsas. Put them up now and think outside of the chip bag–serve them alongside roasted meats or vegetables or a piece of sauteed fish and they'll bring a blast of brightness to those dark winter days.
The Boiling Water Method is the grandmamma of preserving methods. You can use it to put up all kinds of delicious things–jams, jellies, chutneys, tomatoes, salsas and more. It's truly easy to accomplish and not nearly as dangerous as many fear. Just follow your recipe–skimping on the vinegar or changing up ingredients might throw off the all-important acid balance which keeps the food safe on the shelf–and you're good. Here's how easy it is:
Equipment:
Canner or stockpot, with lid
Canning rack, cake cooling rack, or enough canning jar rings to form a layer in bottom of pot
Three-piece canning jars, such as Ball jars
Small heatproof bowl
Canning tongs
Bubble tool, chopstick or plastic knife
Canning funnel (optional)
Lid lifter (optional)
Process:
Wash all equipment and jars in hot, soapy water. Arrange equipment and jar rings on clean tea towel, preferably next to stovetop. Place lids in heatproof bowl, white side down, and cover with boiling water to soften gaskets.
Place canning rack in canner and fill with jars. Fill canner to tops of jars with cold water and bring to a boil. Turn off heat.
Using canning tongs, remove required number of jars from canner, pouring water back into canner and setting jars on towel-covered surface. Ladle hot recipe into cup- or pint-sized jars, leaving .-inch headspace (distance between top of recipe and top of jar, varies with each recipe). Run bubble tool down along inside of jar to release trapped air. With a piece of dampened paper towel, wipe rims clean. Pick up lids, with lid lifter if using, and center on jars. Screw bands on just fingertip tight.
Use tongs to return jars to canner and cover. Return canner to boil and process salsa for 15 minutes (timing may vary for other recipes). Turn off heat, remove canner lid and rest for 5 minutes. Using tongs, lift jars straight out of canner to a towel-covered surface and set aside for 24 hours. Check seals, then store in cool, dark place for up to 1 year.
Sherri Brooks Vinton wants you to "preserve" local agriculture with your food choices. Her writing, talks and hands-on workshops teach fellow eaters how to find, cook and preserve local, seasonal, farm friendly food. She is currently touring with her latest book, Put 'em Up! To find out more, visit sherribrooksvinton.com.

Put them up now and think outside of the chip bag—serve them alongside roasted meats or vegetables or a piece of...
Put them up now and think outside of the chip bag—serve them alongside roasted meats or vegetables or a piece of...

Copyright ©2025 Edible Phoenix. All rights reserved